If you’re a frequent visitor to my blog then you’ll already know that when it comes to baking I’m all about minimum effort and maximum output. I want beautiful, delicious, impressive baked goods, but I want them quickly and without putting in very much effort. I have a four year old who often enjoys helping out in the kitchen, and I know many of my readers don’t have hours to spend in the kitchen baking up a storm.
I’ve already brought you the easiest vegan cupcakes in the world, fool proof dairy free buttercream, vegan crazy cupcakes, simple peanut butter cookies and some easy baking with kids ideas, and today I have a new offering – 3 ingredient brownies. I cannot even begin to explain how incredible these are, and how EASY they are to make.
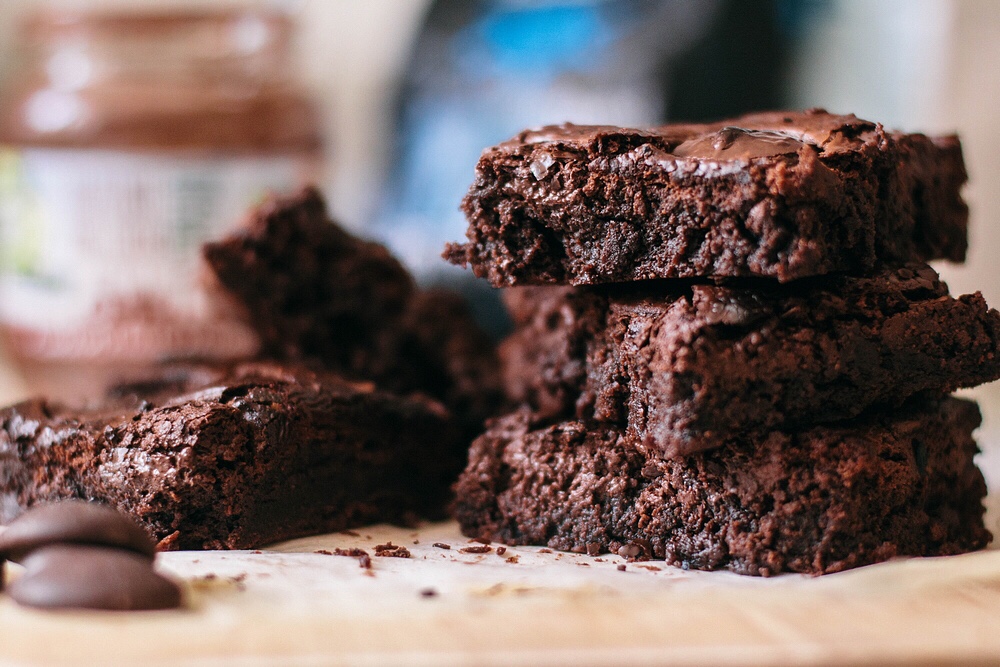

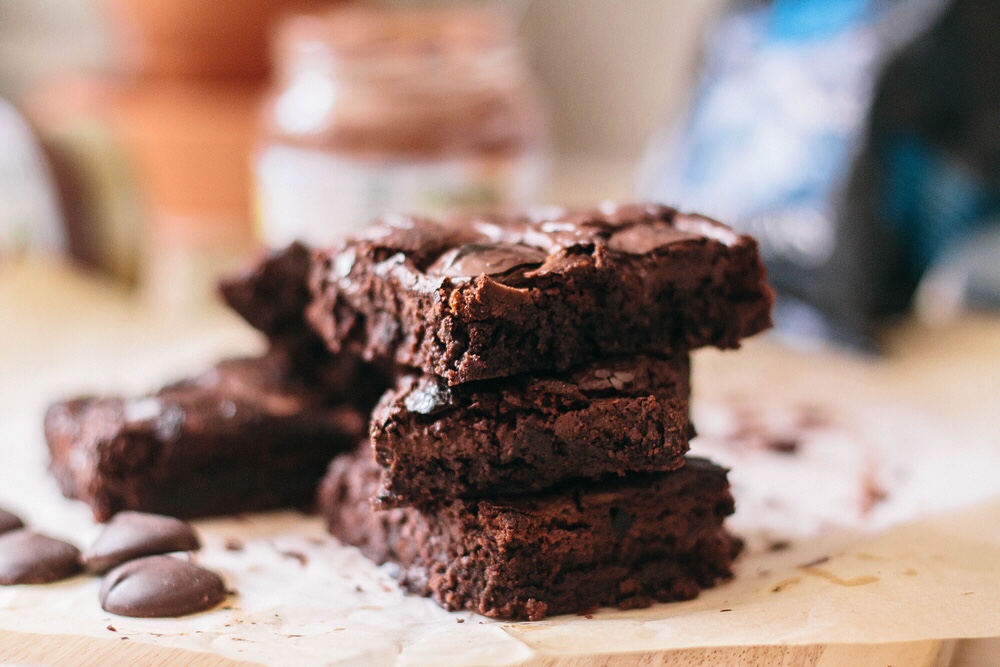
I’ve seen these “Nutella Brownies” doing the rounds on Facebook and Pinterest, and I’ve really been wanting to give them a go and making them dairy free. I’m so glad I finally got around to it because they are DEVINE. I take brownies very, very seriously. A brownie is not a square piece of dry chocolate cake. A brownie should be fudge, chewy and gooey on the inside, with the perfect brownie crust on the top. These really do hit the mark.
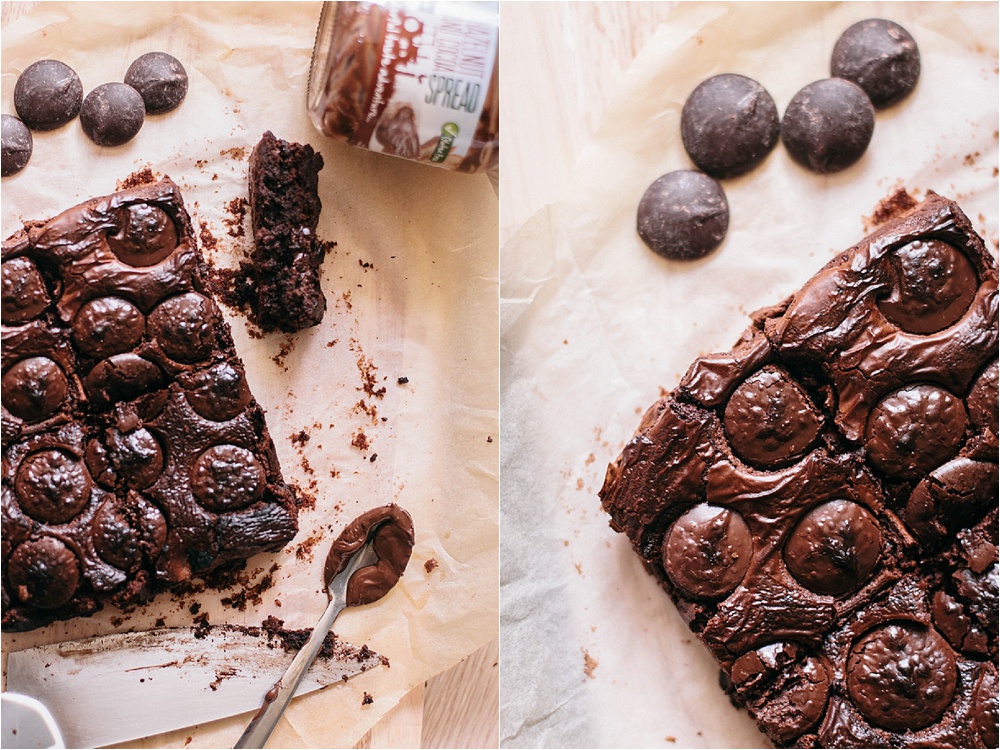
We used Nature’s Store Hazelnut and Cocoa Chocolate Spread for these, which is definitely one of the most delicious dairy free chocolate spreads out there at the moment, but it should work with any thick chocolate spread so choose whichever is your preference/works for your allergies. We also used Free From Fairy self raising flour to make these brownies gluten free and it’s definitely the best gluten free flour I’ve found. I’ve tried to make an egg free version of these with aquafaba a few times but no successes yet, let me know if you manage it!
3 Ingredient Dairy Free Brownies
Ingredients
- 350g chocolate spread (1 jar of Nature’s Store)
- 2 eggs
- 60g flour of your choice (we used Free From Fairy gluten free flour)
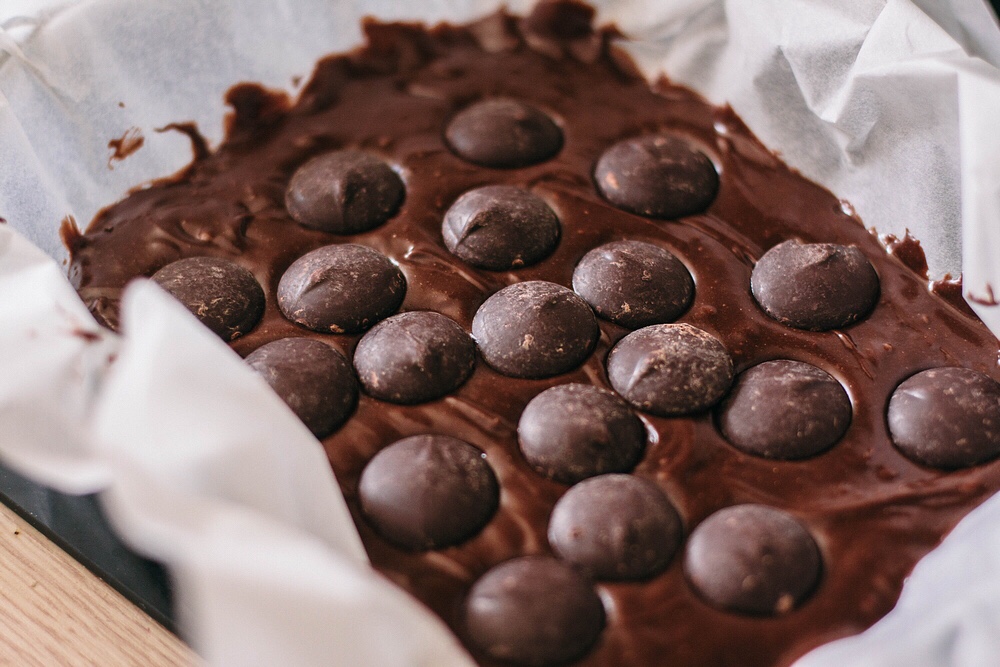
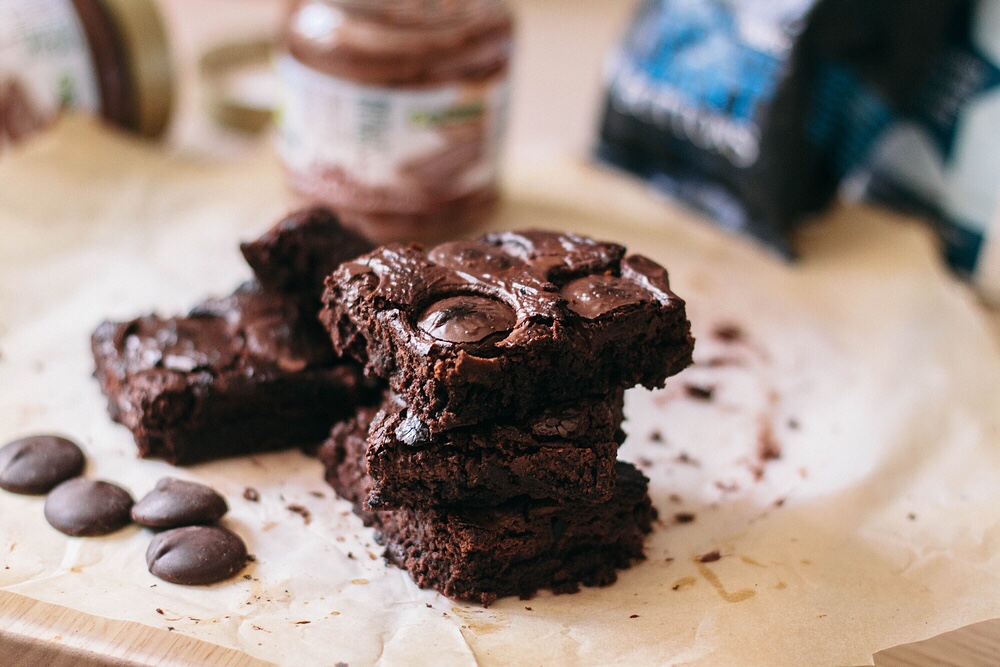
- Optional: any toppings you may want to add. We added some delicious Montezuma chocolate buttons, but you could add chopped nuts, crumbled biscuits, marshmallows or anything else you fancy!
Method
- Preheat the oven to about 180
- Open the jar of chocolate spread and eat a spoonful just to check the quality
- Combine ingredients and mix well
- Pour into a lined tray, and top with any of chosen toppings
- Bake for about 20 minutes
- Allow to cool, then cut into squares and enjoy. These are delicious warm but should keep for a few days if you can resist them

Pin for later!